
Before you can use Self-Service Password Reset (SSPR), you will have to confirm your security recovery information by providing your personal email and phone. When you login into your account after SSPR is enabled, you will be guided to set up this information. You will be required to provide one verification method to confirm your identity, either by phone or personal email.
Starting the verification set up
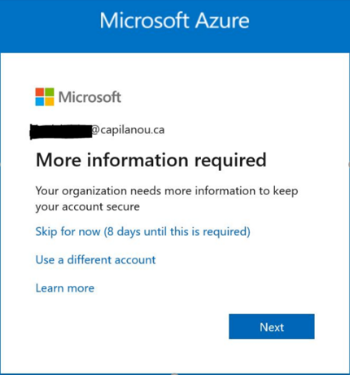
- After you have logged into a Microsoft service (e.g. Teams, Office, email), you will see a “More information required” prompt, click Next.
- You will see the “Keep your account secure” page
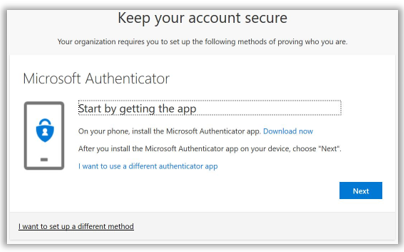
We highly recommend you use your mobile phone or personal email as a verification method for SSPR, so the following guide is based on setting up a phone or email as the verification method. - You can choose to "skip setup" if you do not have time to provide your personal information.
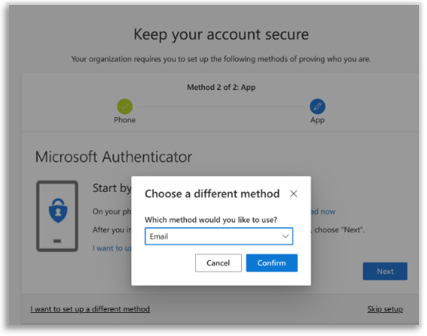
To continue, select "I want to set up a different method."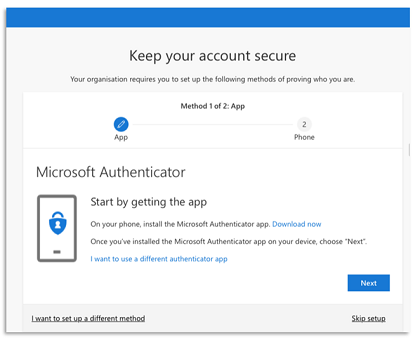
There are two options available, phone or personal email.
Please choose Phone or Email.
If you prefer to use Microsoft Authenticator, please see the Set up an authenticator app page on Microsoft.com. If you have any questions about using this app, please refer to the Microsoft support site.
Choosing the verification options
- Select "Phone" from the drop-down list. Click Confirm.

- Chose the appropriate Country/Region from the drop-down and enter the mobile number in the box provided.
- You can select either "Text me a code" or "Call me".
Note – if you have a landline phone, please choose the “Call me” option.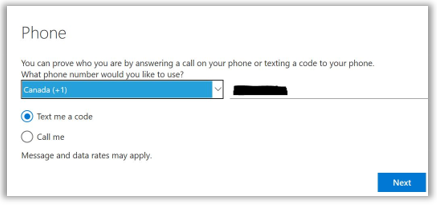
- Option 1: If you select "Text me a code", enter the code you received via a text message sent by Microsoft. Click Next.
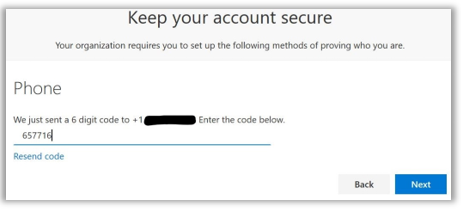
Click Next.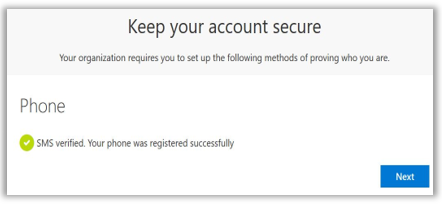
Click Done on the “Success” screen to complete your verification setup.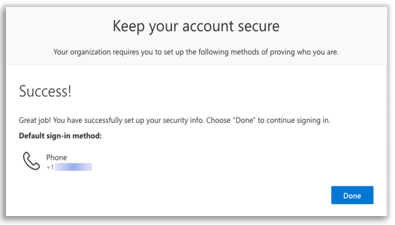
- Option 2: Select "Call me" and click Next to finish adding your phone number as your verification method.
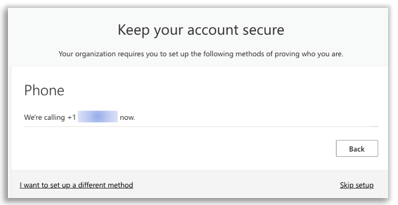
You will receive a phone call from Microsoft, asking you to press the pound (#) sign on your mobile device to verify your identity.
Click Next.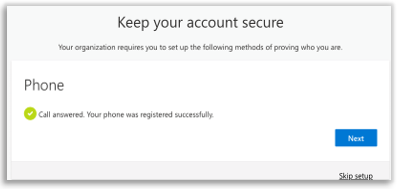
Click Done on the “Success” screen to complete your verification setup.
- Option 1: If you select "Text me a code", enter the code you received via a text message sent by Microsoft. Click Next.
Congratulations, you have now completed all the required steps to set up your phone as your verification option.
- To email as your verification option. Select "I want to set up a different method" and select "Email" from the drop-down list. Click Confirm.
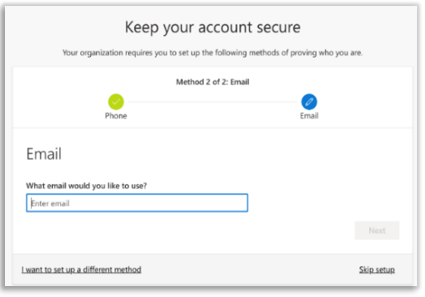
- Enter your personal email (not a CapU email address). Click Next.
- Enter the verification code that was sent to your personal email. Click Next.
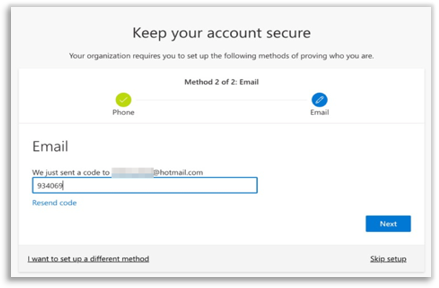
- You have successfully entered your security recovery information. Click Done.
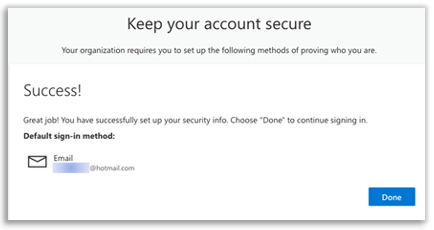
Congratulations, you have now completed all the required steps to set up your email as your verification option.